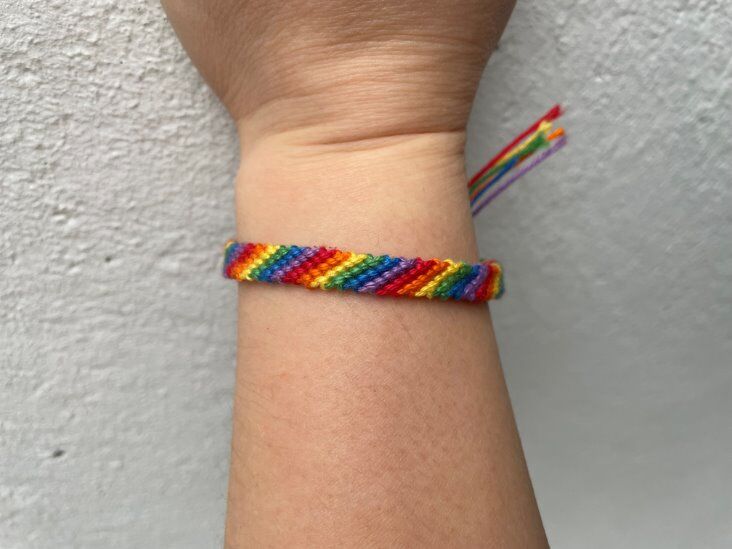
The Candy Stripe bracelet is easy for beginners, since you only need to know one type of knot: the forward knot.
Supplies you will need:
- embroidery floss or other thread
- tape measure
- a pair of scissors
- masking tape
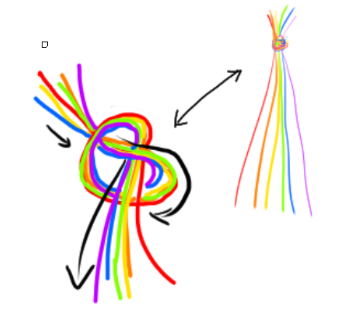
Step 1 cut six threads (for rainbow) about 90 centimetres in length. You can do this technique with any number of threads you choose.

Step 2 Tie threads together with an overhand knot. The overhand knot comes about 8 cm away so that the ends can be braided later.
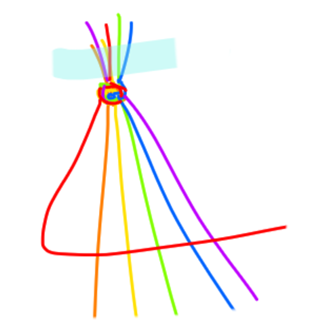
Step 3 Attach the threads to the table with tape. Separate strands in the order of the pattern you want to create.

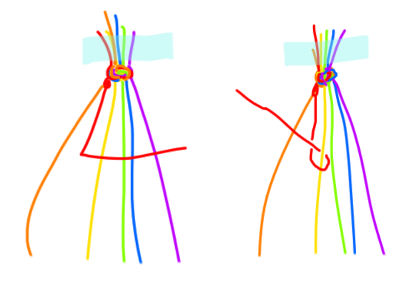
Step 4 Working from the left to the right. Forward knots are made by tying two forward half-hitches. Make a “4” shape with the working string (red) over the second string (orange).
The red thread is going under orange and coming out through the space between the strands. Pull the knot up and tighten. Repeat once more.

Step 5 Repeat the same process of tying two forwards knots around the next string. Place the yellow thread in the middle and continue the knots with the red thread. Repeat the process until the red thread makes its way to the right.
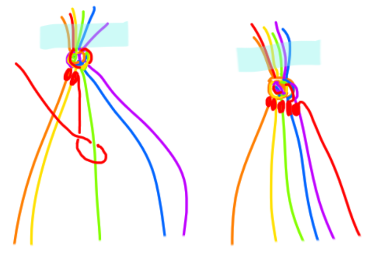
Step 6 Start the next round with orange thread tying. Remember to make two half-hitches to complete each of the forward knots.

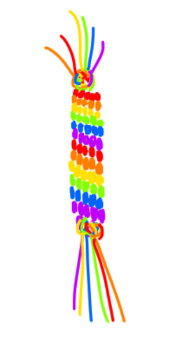
Step 7 Continue until bracelet is long enough to fit around your wrist. Finally, complete by braiding the ends.
These instructions were made by craft science students Aino, Annu, Juulia and Sanni for a course project in University of Eastern Finland. Feel free to use it in personal or educational purposes, but do not resell!